
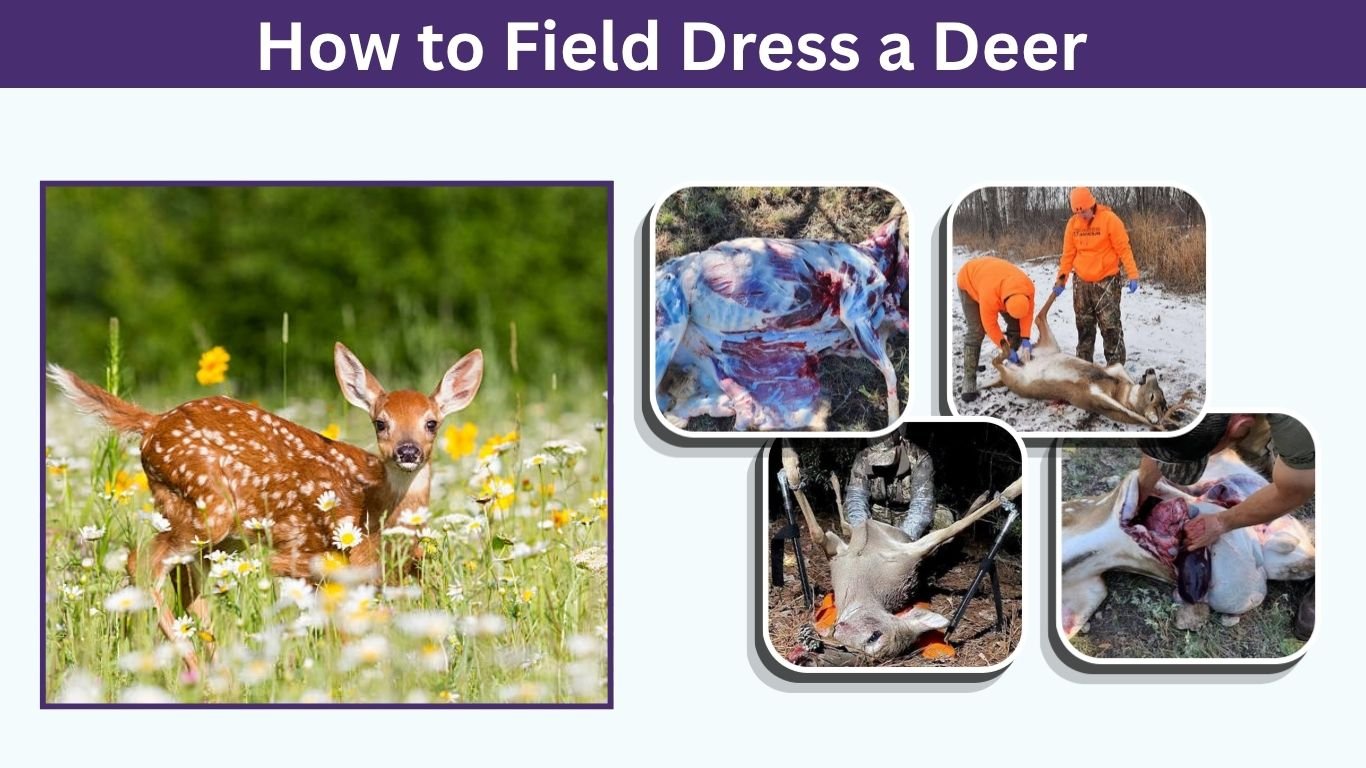
Learning how to field dress a deer is an essential skill for every hunter, especially beginners preparing for their first successful hunt. Proper field dressing removes internal organs, helps the carcass cool faster, and protects the meat from contamination and spoilage. Whether you harvest a whitetail buck, doe, or mule deer, the basic process remains similar. This guide explains how to field dress a deer step by step, what equipment you need, how quickly you should begin, and practical techniques for keeping your venison fresh and safe.
What Does Field Dressing a Deer Mean?
Field dressing a deer means removing its internal organs shortly after harvesting it. This process, commonly called gutting, reduces retained body heat and creates space for air to circulate inside the carcass.
The procedure usually involves opening the abdominal cavity, carefully separating internal organs, and cleaning the exposed surfaces. Proper field dressing is particularly important during warm weather because bacteria multiply more rapidly at higher temperatures.
Why Is Field Dressing Important?
Field dressing protects the quality of venison and makes transporting the deer easier. Removing the organs also reduces the animal’s weight and allows its body cavity to cool more efficiently.
Hunters should complete the process promptly, avoid puncturing the digestive tract, and move the carcass into a properly refrigerated environment as soon as possible.
Tools Needed to Field Dress a Deer

Before heading into the woods, prepare a small field dressing kit containing the necessary equipment. Having everything available prevents unnecessary delays after harvesting a deer.
You do not need expensive equipment, but clean tools and a sharp knife make the process considerably easier.
Essential Field Dressing Equipment
- Sharp hunting knife: A sturdy knife with a manageable blade for controlled cutting.
- Disposable gloves: Protect your hands from blood, bacteria, and animal tissues.
- Gut hook: Optional tool for opening the abdomen without puncturing organs.
- Bone saw: Useful when splitting the breastbone or pelvis.
- Paper towels: Help remove blood, dirt, and surface contamination.
- Rope or paracord: Keeps the deer positioned securely during dressing.
- Resealable bags: Store edible organs separately.
- Cooler with ice: Helps preserve meat during transportation.
Clean and sharpen your equipment before hunting. Keep contaminated tools separate from anything used to prepare food.
How to Field Dress a Deer Step by Step
Field dressing a deer for the first time may seem challenging, but following an organized procedure makes it more manageable. The following method works for most whitetail and mule deer.
Before beginning, confirm the deer is dead, make your firearm or bow safe, and follow local tagging requirements.
Step 1: Position the Deer Properly
Place the deer on its back in a stable area away from mud and standing water. Spread its hind legs to expose the abdominal area.
Use rocks, logs, or rope to prevent the carcass from rolling. If working alone, secure one leg to a nearby tree to maintain a comfortable working position.
Step 2: Make the Initial Abdominal Incision
Pinch and lift the skin and abdominal muscle just below the breastbone. Make a small, shallow incision without cutting into the stomach or intestines.
Insert two fingers beneath the abdominal wall to lift it away from the organs. With the knife blade facing upward, carefully extend the opening toward the pelvis.
Use short, controlled cuts rather than forcing the knife through the tissues.
Step 3: Separate the Pelvic Area
Carefully loosen the tissue around the anus and lower intestine. Avoid puncturing the bladder or digestive tract.
You can split the pelvis with a suitable saw, but this is not always necessary. Experienced hunters often remove the digestive tract without cutting through the pelvic bone.
For a buck, carefully work around the reproductive organs. Follow applicable identification requirements before removing any external anatomy.
Step 4: Open the Chest Cavity
Reach inside the abdominal cavity and locate the diaphragm, the muscular tissue separating the chest from the abdomen.
Cut the diaphragm along its attachment to the rib cage while avoiding the internal organs. Reach forward to locate the windpipe and esophagus, then carefully sever them as far forward as practical.
Splitting the breastbone can improve access, although it is optional for many field dressing methods.
Step 5: Remove the Internal Organs
Carefully pull the organs toward the abdominal opening while cutting the remaining connective tissues.
The lungs, heart, liver, stomach, and intestines should come free with controlled movements. Avoid excessive force because tearing the digestive tract can contaminate the meat.
Roll the deer slightly onto its side to make removal easier.
Step 6: Inspect and Clean the Body Cavity
Check the exposed cavity for stomach contents, feces, dirt, hair, or damaged tissue.
Trim contaminated portions using a clean knife. Wipe remaining residue away with clean disposable towels.
If clean water is needed to remove contamination, thoroughly drain and dry the cavity afterward.
Step 7: Cool the Deer Immediately
After field dressing, open the body cavity to improve airflow and move the carcass into shade.
Use bagged ice when necessary and transfer the deer to refrigeration promptly. Aim to reduce the meat temperature to approximately 35–40°F (2–4°C).
Proper cooling is essential even when the deer has been field dressed correctly.
How Soon Should You Field Dress a Deer?

You should field dress a deer as soon as safely possible after confirming it is dead and completing any legally required tagging procedures. Waiting unnecessarily allows body heat to remain trapped around the internal organs.
The urgency increases during warm weather. Temperatures above 40°F (4°C) make rapid cooling especially important.
How Long Can You Wait Before Field Dressing?
There is no universally safe waiting period because temperature, carcass size, and shot placement affect spoilage risks.
In cold weather, cooling generally occurs more slowly inside an intact carcass than after field dressing. During warm conditions, even relatively short delays can compromise meat quality.
Do not rely on a fixed number of hours. Begin promptly and refrigerate the carcass as quickly as practical.
Different Ways to Field Dress a Deer
Hunters use several methods depending on available equipment, terrain, and personal experience. The traditional ground method is common, but hanging and gutless techniques can be practical alternatives.
Each method requires attention to cleanliness, safe knife handling, and proper meat cooling.
How to Field Dress a Deer on the Ground
Ground field dressing is suitable for beginners because it requires minimal equipment.
Position the deer on its back, spread the legs, and follow the standard abdominal opening procedure. Keep the exposed cavity away from soil and vegetation.
A small tarp can help keep the working area cleaner.
How to Field Dress a Deer Hanging From Its Legs
For hanging field dressing, suspend the deer securely by its hind legs using a properly rated gambrel and support.
Gravity can help move the internal organs downward during removal. However, the hunter must control the organs carefully to prevent contamination.
Use a stable setup and avoid standing directly beneath the carcass.
How to Field Dress a Deer Without Gutting It
The gutless method allows hunters to remove major meat portions without opening the abdominal cavity.
Hunters typically skin one side and remove the quarters, backstraps, and accessible tenderloins before repositioning the carcass.
This technique can be useful in remote locations where packing out an entire deer is difficult. However, exposed meat must be protected from dirt and cooled promptly.
How to Field Dress a Buck, Doe, or Mule Deer

The basic process is similar for male and female deer, although certain anatomical differences require attention.
When field dressing a buck, carefully avoid puncturing the urinary tract while working around the reproductive organs. For a doe, take similar precautions near the bladder and reproductive tract.
Mule deer and whitetail deer have broadly comparable internal anatomy. Larger animals may require more effort when positioning the carcass and removing the organs.
Field Dressing a Deer for a Shoulder Mount
If you plan to preserve the head and shoulders for taxidermy, avoid unnecessarily cutting through the brisket or upper chest skin.
Keep your abdominal incision below the breastbone and avoid damaging the shoulder cape.
Consult your taxidermist about preferred cuts and preservation methods before making additional incisions.
Common Mistakes When Field Dressing a Deer
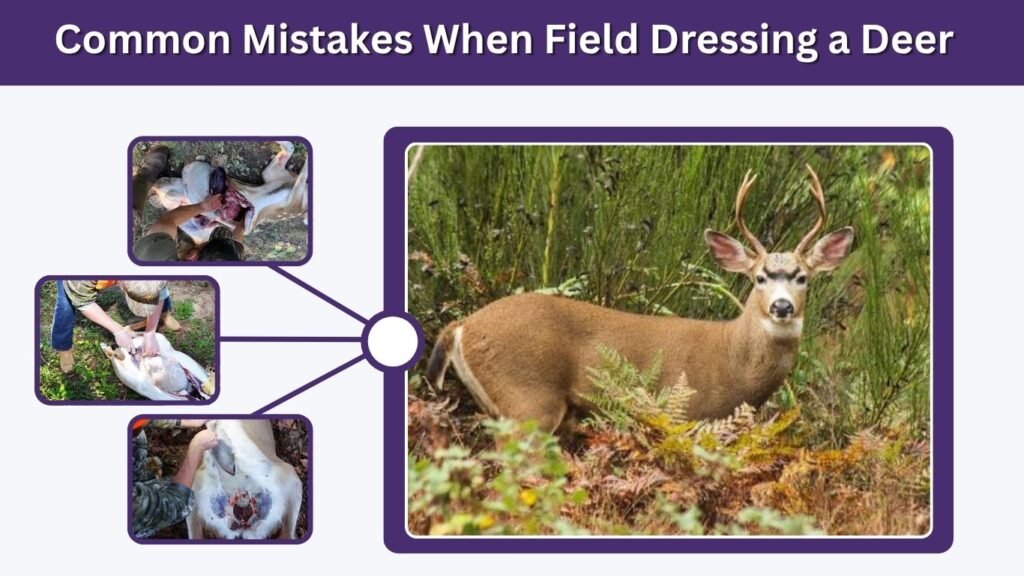
Beginners sometimes make avoidable mistakes that reduce venison quality. Understanding these problems makes the process safer and more efficient.
Field Dressing Mistakes to Avoid
- Cutting too deeply: Can puncture the intestines and contaminate the meat.
- Using a dirty knife: Introduces bacteria into exposed tissues.
- Waiting too long: Prevents the carcass from cooling promptly.
- Puncturing the bladder: May contaminate surrounding tissues.
- Leaving the deer in sunlight: Increases the risk of spoilage.
- Rushing the process: Makes accidental cuts and organ damage more likely.
- Ignoring abnormal organs: May expose hunters to disease risks.
What if You Accidentally Puncture the Intestines?
Stop immediately and prevent additional stomach or intestinal contents from spreading.
Carefully remove the organs, trim contaminated meat, and clean the affected area with appropriate supplies.
If contamination is extensive, consult an experienced game processor or food safety professional before deciding whether the meat is suitable for consumption.
Safety Tips for Field Dressing a Deer
Safe field dressing involves more than careful knife handling. Hunters must also consider diseases, environmental contamination, and meat storage.
Wear disposable gloves, cover open wounds, and wash your hands after handling the carcass. Avoid unnecessary contact with the brain and spinal cord.
Chronic wasting disease (CWD) is another concern in affected regions. Follow local wildlife-agency guidance about testing, carcass transportation, and disposal. Never consume meat from a deer that tests positive for CWD.
Always use clean processing equipment, refrigerate meat promptly, and follow applicable hunting regulations.
FAQs
1. How Long Does It Take to Field Dress a Deer?
Experienced hunters may field dress a deer in approximately 10–20 minutes, while beginners can take 30–45 minutes or longer. The actual time depends on experience, equipment, and conditions. Careful cutting and proper cleaning are more important than finishing quickly.
2. Can You Field Dress a Deer by Yourself?
Yes, one person can field dress a deer using a sharp knife, gloves, and a secure working position. Rope or logs can help stabilize the carcass. Beginners should work slowly and consider learning alongside an experienced hunter before attempting the process alone.
3. Do You Have to Split the Pelvis When Field Dressing a Deer?
No, splitting the pelvis is optional. Many hunters carefully separate the anus and lower intestine without cutting the pelvic bone. This method requires controlled knife work but can eliminate the need for a bone saw and additional equipment.
4. Should You Wash a Deer After Field Dressing?
Washing is not always necessary. Remove visible contamination using clean towels and trim affected tissue when needed. If you use potable water to clean the body cavity, drain and dry it thoroughly afterward. Rapid cooling remains essential for preserving meat quality.
5. What Is the Best Way to Field Dress a Deer for Beginners?
The traditional ground method is generally easiest for beginners. Position the deer securely on its back, make shallow abdominal cuts, remove the organs carefully, and clean the cavity. Prioritize knife safety, cleanliness, and rapid refrigeration rather than speed.
